
Apple’s iPhones and iPads didn’t always have a screen recording option. You could take a screenshot if you wanted, but you couldn’t record the iPhone screen. That typically required jailbreaking the iPhone.
Jailbreaking an iPhone can be risky, as it essentially eliminates the security walls Apple has constructed. As a result, your device is susceptible to viruses and malware. However, it also has benefits, as it can make your device a lot more convenient and increase usability.
Not everyone is up for jailbreaking their iPhone, so how to record an iPhone screen without jailbreak? Well, luckily, there’s no longer a need for jailbreaking iPhone for screen recording. Apple introduced the screen recording feature with the release of iOS 11.
Now it’s a standard part of iOS and iPadOS and built into the Control Center. With just a tap, you can start recording the iPhone screen without messing with your phone’s software.
Some older devices cannot utilize this feature as they cannot be upgraded to iOS 11. Still, there’s no need to get your iPhone jailbroken, as there are other ways to record screen on iPhone.
Table of Contents
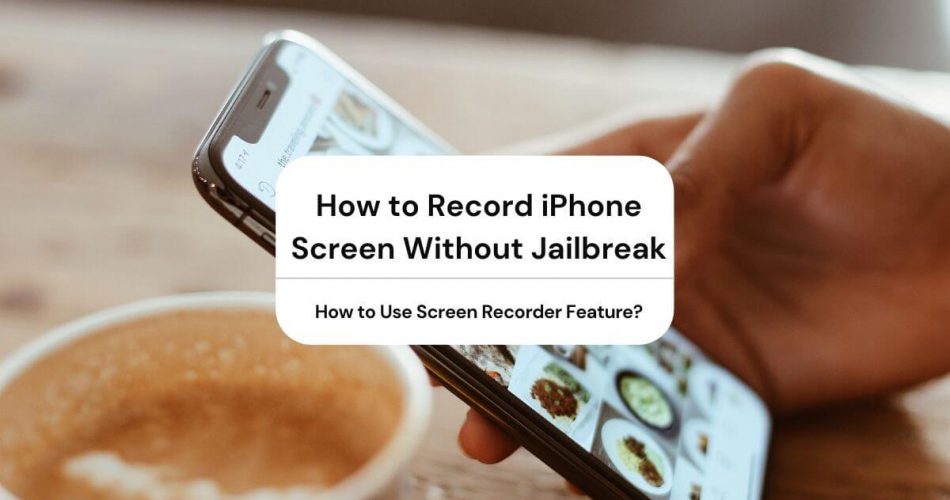
How to Use Screen Recorder Feature?
If you have iOS 11 or later on your iPhone, you can easily record your iPhone screen using this feature. The exact method differentiates slightly, but it’s straightforward to use.
It may not appear on your Control Center by default, and you may have to add it. Before iOS 12, you couldn’t customize your Control Center.
Here’s how you can add and use the screen recorder function on your iPhone:
- If you have an iPhone with iOS 14 or later, go to Settings then Control Center, and tap on More Controls. If you have iOS 13 or less, the More Controls option appears as Customize Controls.
- You’ll see in the list the option ‘Screen Recorder’ and a plus sign next to it. Tap on that.
- Now, swipe up on the home screen to access the Control Center, and you’ll see an icon that shows a dot inside a circle.
- To start recording, touch the screen recorder icon, and you’ll see a countdown to three seconds, after which the recording automatically starts.
- Alternatively, you can hold press the gray icon, then tap on the microphone, which also records your sound or surrounding sound with the screen recording. (Note that this won’t work for recording phone calls, as this feature deactivates when you answer a call)
- To stop the screen recording, scroll up the Control Center and tap on the screen recorder icon again, which will be red now. Alternatively, you can tap the red banner on top and select stop screen recording.
You see, it’s a straightforward process now that Apple has included the built-in screen recorder feature. As for how long you can record, there isn’t a time limit. The feature may stop if you’re using it for a very long time, either because of memory or battery shortage.
Also, the screen recorder process is the same for iPad screen as well. This feature is also present for iPad screen recording.
Other Ways to Record iPhone Screen Without Jailbreak
What if you have still not upgraded to the iOS versions that have this feature. What if you have an older iPhone that doesn’t use these iOS versions? Well, all hope is not lost as there is a workaround to that.
iOS 11 is a 64-bit OS that doesn’t work with iPhone 5, 5C, and models older than that. While there are many new models out now after those, and Apple considers those models obsolete, they are still in the hands of people.
If that’s your situation, you can use some apps (including third-party apps) you can use to record your iPhone screen.
QuickTime
You can record iPhone and iPad screen using the QuickTime app as well. However, this method requires you to connect your iPhone or iPad to a Mac first.
Here’s how you do that:
- Connect your iOS device to the Mac using a lightning-to USB cable.
- Launch QuickTime Player on Mac.
- Go to File, then New Movie Recording.
- In the new window that opens, click on the downward arrow next to the recording button.
- Select your iPhone or iPad for video and audio recording.
- Click on the Record button.
- This will start recording the iPhone screen, and when you want to stop, click on the stop recording button.
- You can export the recorded video by going to File.
It would be best to have at least iOS 8 or later and macOS X or later for this method to work.
Dr. Fone iOS Screen Recorder App
The Windershare Dr. Fine toolkit also has a Screen Recorder App that offers a recording screen on an iPhone without needing to jailbreak the device.
It’s also an iOS screen mirroring app that you can use to mirror your iPhone screen to your PC. It’s an excellent solution for directly recording the iPhone screen from your PC.
You can get both the iOS app and Windows app at the same price here. You can also try it for free before paying for the subscription.
This iOS screen recorder will only work with iPhones with iOS 7.1, iOS 8, iOS 9, iOS 10, iOS 11, and iOS 12.
Step 1: To install it, click on the install link on your iPhone, iPad. You’ll be asked for permission, so select Install.
Step 2: After successful installation, go to Settings, then General, and finally Device Management. Click on iOS Screen Recorder distributer and click on Trust.
Step 3: Launch the iOS Screen Recorder app and give permissions for access to Photos and Microphone. This is so that it can record sound and store the recording in the album.
Step 4: Customize how you want the screen recorded. Unlike the iOS built-in screen recorder function, this app allows you to record phone screen the way you want to. The resolution can be set between 720p and 1080p.
Step 5: Select the Next button, and the recording will start. The app will minimize automatically. You’ll see a red banner on top indicating that the iPhone screen is being recorded.
Step 6: When you want to stop the recording, tap on the red banner, and the recording will stop. The app will save the clip in your album in the Photos app.
Shou on Emu4ios
While there are many apps for jailbroken phones on Cydia, there are none on the official App Store. However, you can still use a third-party app without jailbreak.
You can use Emu4ios, a service that offers apps for iPhones that aren’t available on the App Store. It’s a little shady, but it has an app called Shou that makes it very easy to record the iPhone screen.
To use this app, you first need to install the Emu4ios app, which you can do so by typing the URL http://emu4ios.net/ on Safari.
Click on Get and install the Beta app on your iOS device.
Once you’ve installed this app on your iPhone, you can browse the many apps. It’s just like the App Store with apps available to install.
Launch this app and look for the app ‘Shou.’
Download and install the app, and launch it on your iPhone. You will be asked to sign up, which you can do using Facebook or Google account too.
It has a straightforward interface with just two buttons: Start Broadcasting and Start Recording.
You can also customize the recording setting by clicking the i sign and choosing the settings you want. This allows you to adjust the format, orientation, bitrate, and, most importantly, resolution.
Now just hit the button and leave the app; your iPhone screen will start recording.
To end the recording, head back into the app and select the Stop Recording button.
Bottomline
It’s best to stick to the built-in screen recorder feature to record the iPhone screen. It’s safe and pretty convenient to use. However, if you don’t have that feature because you have an older model or older iOS, you can try any of the above apps to record the iPhone screen.